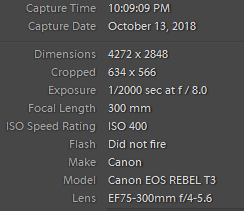
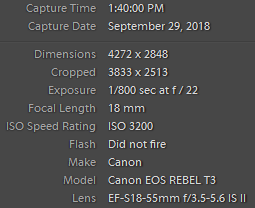
1. Above: I edited it by brightening the whites, cropping out some
distracting background, and increasing the exposure. I used a larger
lens with a f stop of 5ish because I wanted to really get in focus the
whiskers and face, while keeping my distance since it is a wild animal.
2. Above: I adjusted the exposure when editing, this photo was
underexposed. I used an (f/5.0) because I wanted to really focus on one
detail and blur the rest, but not so much that it looked weird. I used a
larger lens so that I could get a close up but keep my distance, to be
safe.
3. Above: I added blue, took out a log that was jutting into the sky. I used a small ISO because the scene was already very bright.
4. Above: I wanted to make this scene look surreal, so I made the already
blue much brighter with a filter. I used a smaller lens to capture the
whole scene, and small f stop to bring everything into focus. I used the
heal tool to get rid of some weird spots, but decided to leave the
bright log in the foreground to lead the viewer in.
5. Above: I edited this by using the heal tool to remove some of the grass
in the foreground and lowering some of the yellows and oranges to make
the grass less distracting. I used a larger lens because the animal was
far away, and a medium f stop to get more than just the eye in focus. My
ISO is fairly high because the lighting was a little dark.
6. Above: I stood upwind of Old Faithful and used my smaller lens to
capture more. I used a low ISO because the scene was already very
bright, and a faster shutter speed because I wanted to capture the
moment, freeze the action. During editing I just used the class preset
and added some blue.
7. Above: For this image I was using my wider lens with a medium f-stop. I
was using a higher shutter speed to capture the crow moving, and a low
ISO because the scene was bright. I edited the image by cropping it,
adding whites and shadows, and highlights, and overall increasing
contrast.
8. Above: I edited out a few bright yellow spots for this one, and slightly
lowered the yellow to decrease the color of the grass. I cropped this
image significantly too. I used a long lens for distance and focus, a
medium f-stop for focus on more than just a small region, and a medium
ISO because of lighting. I also had a fast shutter speed which was my
priority.
9. Above: I used a large lens to compensate for distance and a fast shutter
speed. I edited it by cropping significantly and throwing a few presets
on.
10. Above: I used a large lens with fast shutter speed to capture the moment
at a safe distance. As for editing, I cropped it significantly and used
a preset to brighten it.
11. Above: I used a wide lens and landscape settings to take this picture. When editing, I cropped it down, brightened the yellows and used a skypop filter (graduated filter) to brighten the blue. I brightened the shadows as well and increased contrast.
12. Above: I used a larger lens for zoom because the bird was far away, and a faster shutter speed because I expected it to move (but not so fast that it unbalanced everything else). I cropped it quite a bit, and used a BW preset because the colors seemed weird and I like the BW.
13. Above: I used a larger lens for this picture to avoid disturbing the animal with my proximity. There was little light, so I used a higher ISO and the fastest shutter speed I thought I could get away with. I turned it BW with a preset because I love how dark the crow is compared to the background and that feeling was lost a little when the background included some colorful lichen and bright green needles.
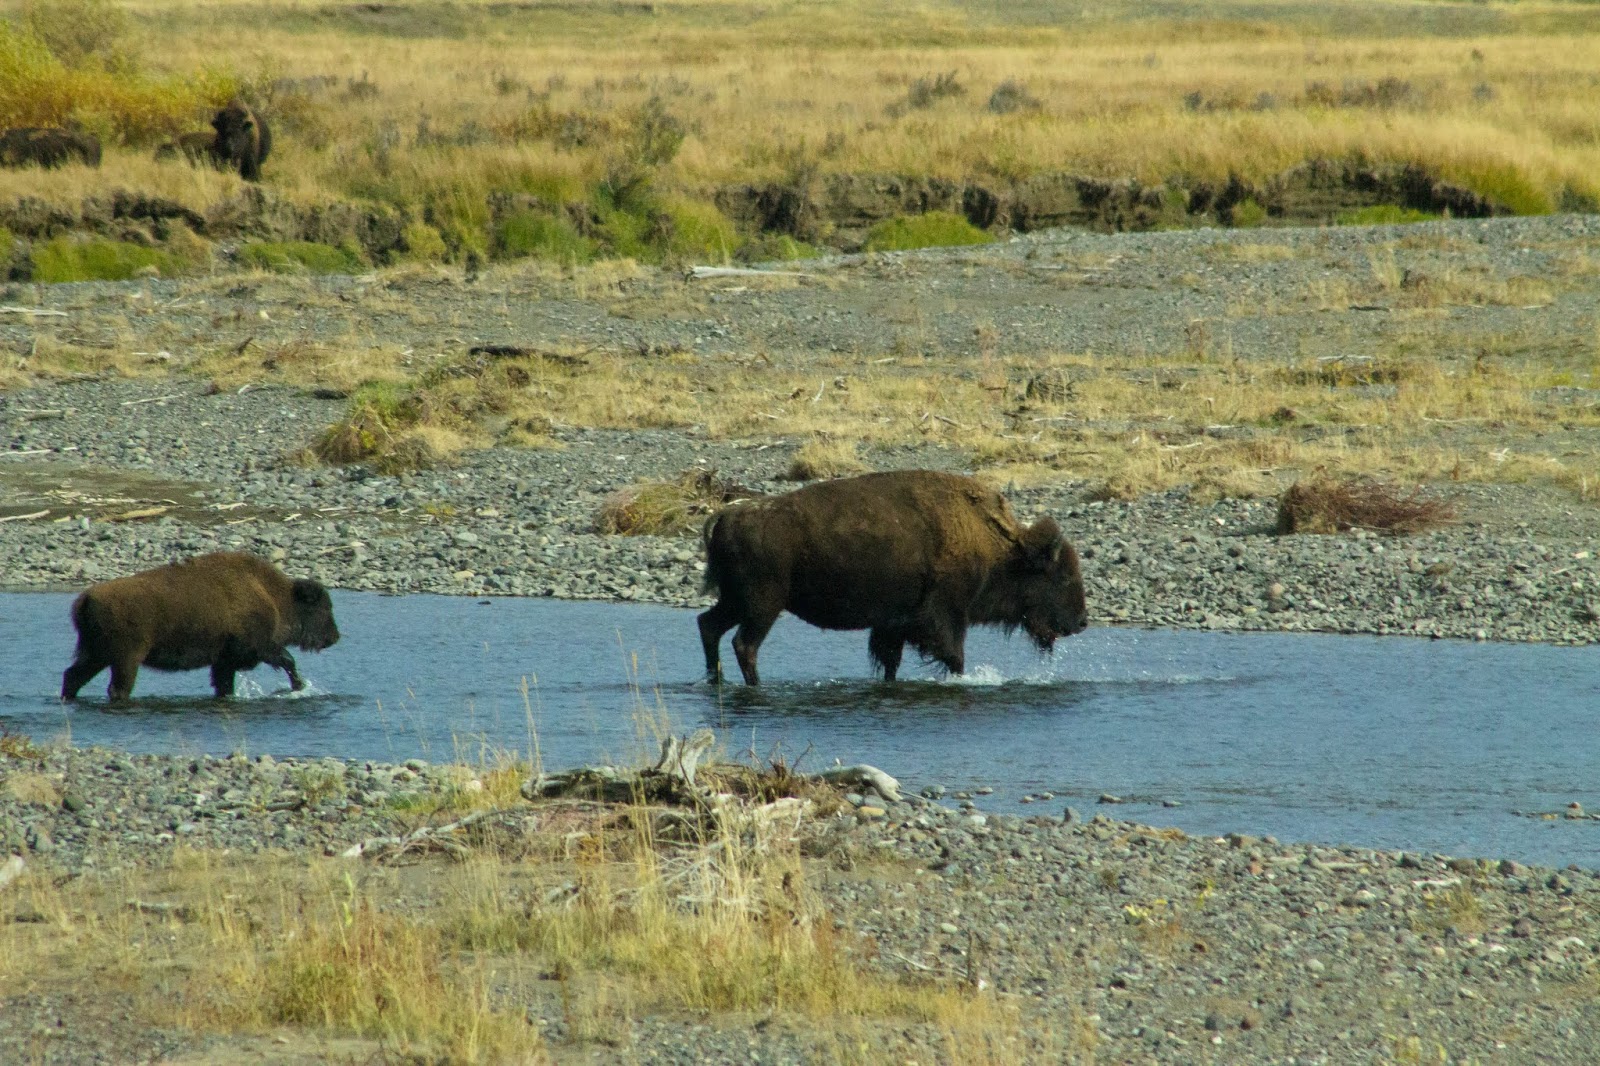
14. Above: I used a preset to brighten this image because it was a little underexposed, and a faster shutter speed to capture the splash as they crossed. I used a larger lens to get as close as I could and a higher ISO because the light was poor.
15. Above: I used a graduated filter to make the sky more dramatic and kept a good section of the sky in order to both show off the clouds and keep both goats on the 1/3 line. I used a bw preset. I used a longer lens to get the focus I wanted and a lower ISO because it was bright out.
16. Above: I used a wider lens for this since it is almost a landscape photo, and I brightened it some. I added a graduated filter to the sky, but wanted the focus to remain on the tree. I used a higher ISO because of the clouds, and cropped the sky off to bring more focus to the subject.
17. Above: I used a high ISO here because the light was low and I used a wider lens to capture as much of the scene as I could. I cropped out some distractions, and brightened the image slightly.
18. Above: I used a higher ISO because of light conditions, a wider lens for landscape photography, and a large f stop for focus. I cropped out some distractions and brightened it.
19. Above: I used a higher ISO because of poor lighting and a wider lens for the landscape photography. I used a higher f-stop to focus on more of the scene. I cropped out some distractions and used a BW preset because I love how mysterious it makes it feel.
20. Above: I used a low ISO because it was a bright scene, and a wider lens to capture all of it. I cropped the image down so there wasn't so much black at the bottom, and used a BW preset to make the clouds and the sunburst look more impressive, since the colors weren't that great.
21. Above: I used a lower ISO because it was a medium light scene and a wider lens turned portrait because the subject is taller than it is wide. I brightened the scene and used the heal brush for some spots.
22. Above: I used a lower ISO because it was a bright scene, a small f-stop because I wanted focus to be on the chipmunk with the background blurred, and a larger lens to get close to the subject. I cropped the image significantly, which is why there is a lot of granite still in the foreground (too much to crop) and I brightened the scene. I love the red raspberry in it's paw.
23. Above: I used the low ISO because the scene was very bright already, and I had a higher f-stop and slow shutter speed in order to get the motion blur of the water. I brightened the scene, the took some of the yellow and green out to make the background less bright. It didn't look as good when the background was cropped out, so I left it in.
24. Above: I used a lower ISO because the sun was out, a smaller f-stop to get my focus area smaller, and my wider lens for the macrophotography. I brightened the scene, cropped it significantly, added a present vignette from Lightroom, and increased the contrast slightly.
25. Above: I used medium ISO because the sun was setting, so it wasn't really too bright or too dark. I used a higher shutter speed to freeze movement in the animal and a larger lens to get the zoom I needed. I cropped the photo significantly, and brightened it.